
Some practical advice for photographing lightning.
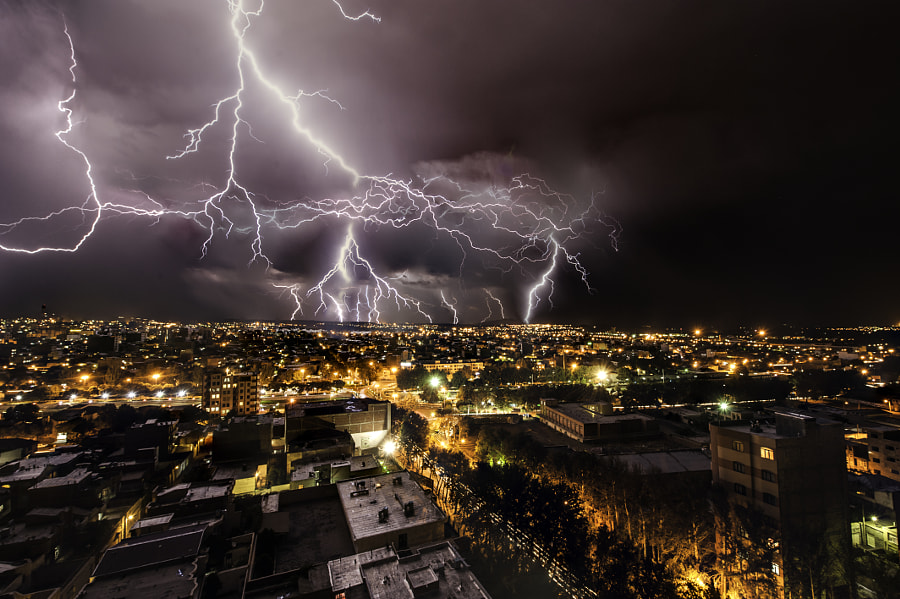
Photographing lightning is certainly an activity that can give a lot of satisfaction and can allow us to take home a shot that is envied by many.
However, photographing lightning can also be VERY dangerous. Lightning strikes unpredictably and it is NOT true that lightning never strikes in the same place. While being struck by lightning isn't always deadly (here the story of Roy Sullivan , who was struck by lightning seven times), it's best not to take any unnecessary chances .
So let's see together some small tips on how to photograph lightning.
Basic technical issues in lightning photography
The essential problem in the photographic recovery of lightning is that it deals with sudden and unpredictable events, both in terms of moment and position. The specific problems derive from the fact that it is impossible:
- predict the point of fall
- anticipate the moment of the fall
moreover, these are phenomena characterized by:
- very high brightness
- extreme speed
last but not least, their extreme danger to humans should be mentioned.
Safety first
First of all, it is necessary to find a safe place to lurk: inside a building, a car, any place that can therefore protect us from a direct hit. Avoid positioning outdoors, especially near waterways, trees, electric poles, tall buildings.
Let us remember that, even if the storm seems far away, lightning can travel very long distances and strike where we least expect it.
Always follow the evolution of the storm with the utmost attention. If you find lightning getting too close to you, take off your gear and quickly get into your car, or take cover inside or under a brick building. As already mentioned, never under trees or metal canopies.
If you don't want to interrupt shooting, leave the cameras at work and take shelter in a safe place anyway. When you judge that the danger has passed, then you can return to the trigger point. In any case, never risk it.
Following the storm is essential, as well as for your own safety, also for the positive outcome of the recovery. If you notice that the scenario changes, stop the shooting sequence, reposition the camera, recreate the shot, change the shooting parameters if necessary, and resume the sequence.
There are lightning and lightning
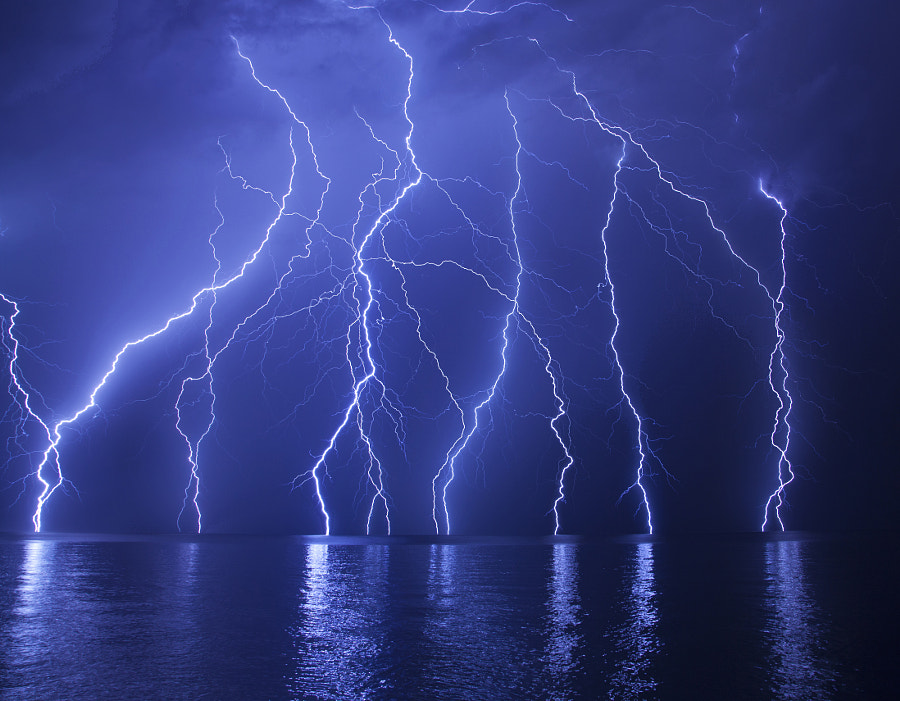
Easy to say lightning! You should know that we can distinguish several categories of lightning relevant to photography:
- those who dump on the ground
- those that propagate from cloud to cloud
- those inside the cloud itself
We then classify them by intensity, shape and color.
- Intensity : Intensity is particularly important for the photographer because the ISO and exposure time settings depend on it.
- The shape: A bright straight line pointing to the ground or a complex ramification? Or lightning that appears to spring from a tower or spire?
- Color: The most common color is white but sometimes red, yellow or blue may appear. The differences are in the atmosphere. The presence of gas or impurities in the air affects the color. The smog makes them reddish, the hail blue. Sodium makes them greenish.
Prepare your equipment
To photograph lightning, a tripod is certainly necessary: with the camera set to manual for shutter speed and aperture, the camera must be very stable.
To get a good shot, the shutter speed must be set between 3s and 30s, so every slightest vibration will affect the sharpness of the image.
Any lens will do, but if you choose a prime lens, the perfect choice for doing this type of photography, a 30mm prime for APS-C or a 50mm prime for full-frame cameras would be optimal. However, even a standard wide angle like a 16-35mm or 24-70mm could be just fine, since they allow more flexibility to change focal length and target a specific area.
Protect your camera and lens from the rain, especially if you're in a seaside location: salt air is extremely corrosive and could damage your equipment.
Use a remote control (wired or infrared). If you have to use long exposure times, the vibrations caused by pressing the shutter button can blur the resulting image.
Use a flashlight , for two reasons: moving in the dark can be dangerous, and if the flash is far away, you could “paint” the foreground subject with the flashlight to make the image more dramatic.
How to shoot
The first rule concerns how to shoot : manual shooting at the time of a lightning strike is unthinkable, precisely because they are instantaneous and unpredictable phenomena. So don't kid yourself that you can stand there with the remote in your hand to click when you see the flash: by the time the shutter takes its shot the lightning will be long gone. There are therefore two possible procedures:
- continuous shooting at long shutter speeds
- triggers
Long shutter speed shooting is easy to understand: successive shots are taken without interruption, with long shutter speeds, and it is obvious that any lightning that falls in that interval is recorded by the sensor. Simple and effortless, at least in theory.
The trigger is an electronic instrument that "sees" the lightning and in a very short time, compatible with the development speed of the lightning, triggers the shutter. In essence it is the idea of shooting by hand, but using an electronic hand-eye system much faster than our human. In theory it works, in practice a little less.
One of the most popular triggers is the Pluto trigger , but there are less popular (and less expensive) substitutes as well.
The limitations of triggers, of all triggers, is the fact that they work by detecting changes in brightness in the environment. Basically don't think they "see" the lightning. They only detect that ambient light increases beyond a certain average threshold, which you set by turning a wheel on the trigger itself. As soon as the light increases, the sensor triggers the actuator and sends the shutter signal to the camera.
Two valid alternatives to the Pluto are the Miops and the excellent Movo , with excellent value for money.
So you understand well that if the ambient brightness is very high, the trigger can only see those very close lightning strikes that cause a real ambient flash. Furthermore, it all depends on how you have adjusted the trigger threshold manually by turning the wheel: if you have not been delicate and precise, you risk having set a high threshold that will not "see" minor lightning strikes. During the day, given the very strong ambient light, everything is much more difficult from this point of view. But even at night, if you're near very strong light sources, the problem is the same.
Shooting parameters
Here we enter a fairly complex territory, but I'll explain the reasoning behind the choice of shooting parameters, something that requires a moment of attention to be understood but whose knowledge then makes everything much easier.
Let's start from the assumption - as mentioned above - that lightning is characterized by a very rapid evolution (it lasts an extremely short time) and by a very high luminosity. In fact, we often see the flash of light illuminating the sky and the ground even in broad daylight.
From this it follows that the exposure must take into account the fact that our subject, ie lightning, will have a much greater luminosity than the landscape, both at night (but this is obvious) and during the day. It is therefore understood that it is its brightness that governs our shooting parameters. Therefore, the lightning should be exposed well, not the rest, which can easily be underexposed.
Given that lightning is very fast, it is understood that the shutter speed no longer affects its exposure in any way. So the only two parameters that we can adjust for correct lightning exposure are ISO and aperture. The weather must then be adjusted accordingly just to have a correct exposure of the landscape.
For the landscape there are two ways to proceed:
- expose it correctly (using shutter speed adjustment only, because ISO and aperture are adjusted to expose the lightning well)
- underexpose it, worrying only about the good exposure of the lightning, and make a separate shot of a well exposed landscape to use as a basis for overlaying the lightning (better to do a few during various moments of the storm to have the best to choose in Post Production)
Lightning shooting photographic situations
As for the photographic situations in which we can shoot lightning, we immediately divide between night and day, because each of these two scenarios presents totally different shooting conditions and very specific problems, which condition the shooting parameters and the shooting method itself.
Photographing lightning during the day
Daytime is certainly the more difficult shooting situation of the two. This is because the high ambient brightness prevents the use of long shutter speeds. On the other hand, it is unthinkable to make sequences of shots at rapid times, both because the shutter reload interval risks being longer than the shot itself with the risk of losing lightning bolts, and because you would end up taking thousands of RAW shots, saturating cards with memory, HD and running out of the shutter itself faster. Impossible even to think of simple bursts of shots as in sport.
So there are two solutions:
- use a trigger
- apply a nd filter (neutral density) and thus lengthen the shutter speed. The ideal is to use an ND400 filter , which will allow us to close by 10-12 f/stop as if we were filming in the middle of the night.
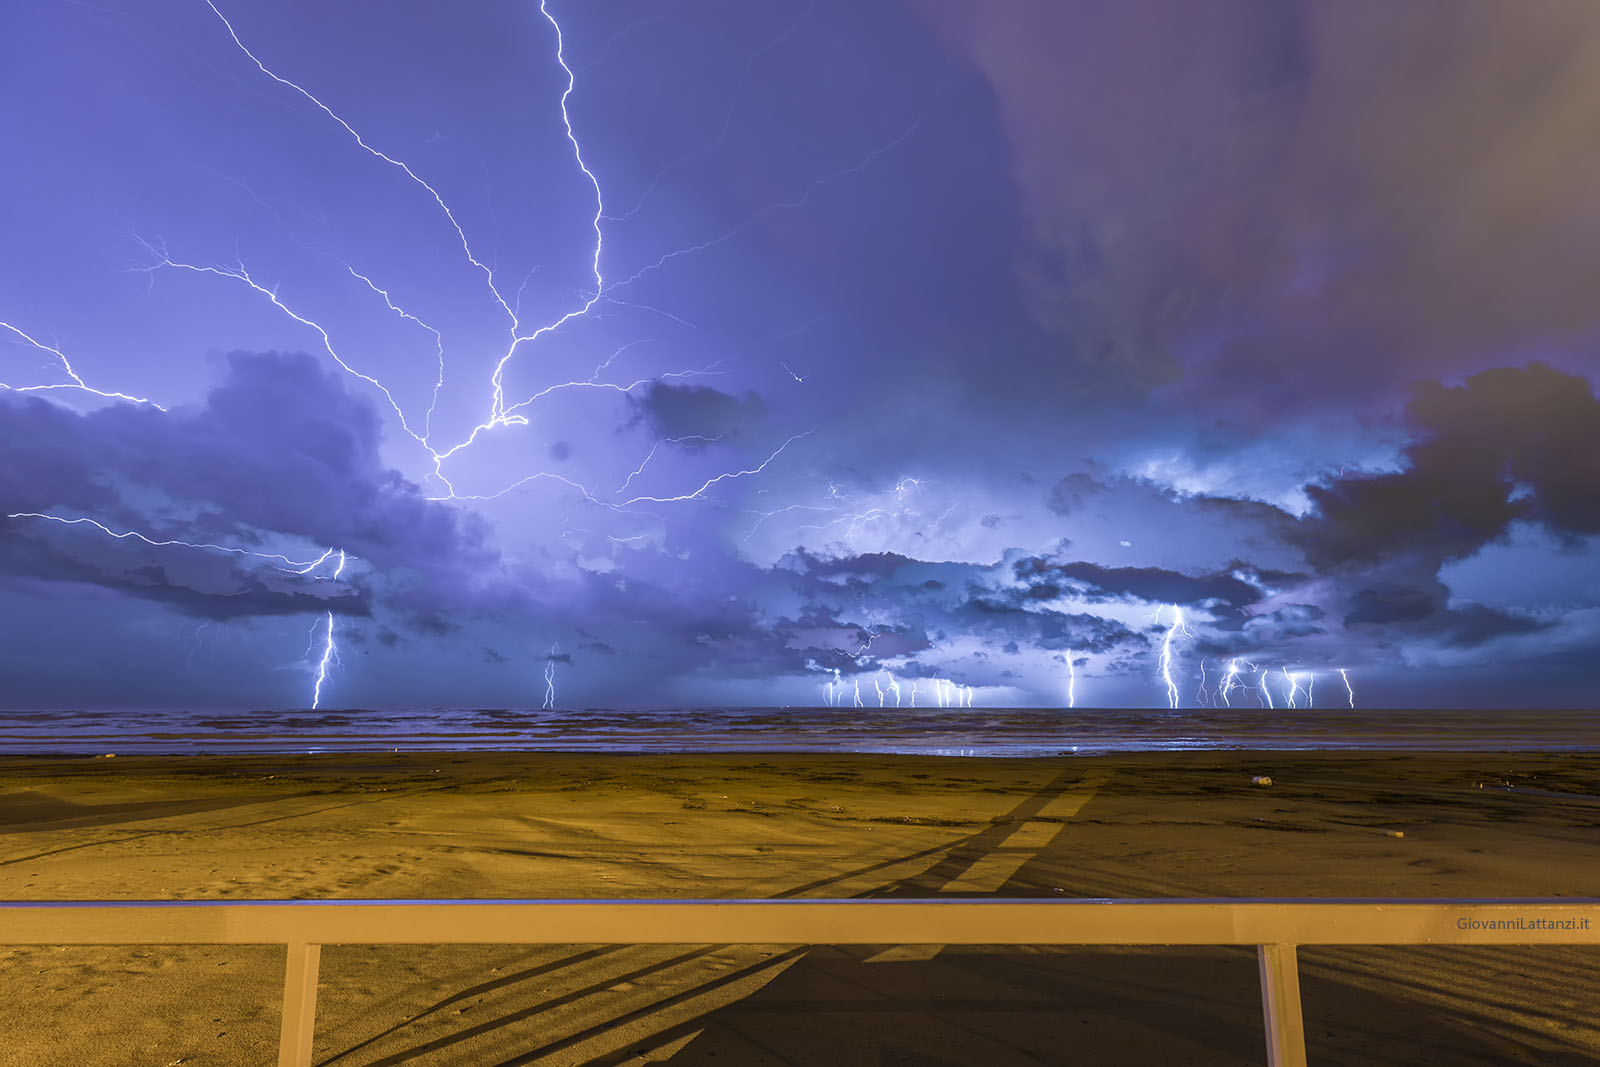
Photographing lightning at night
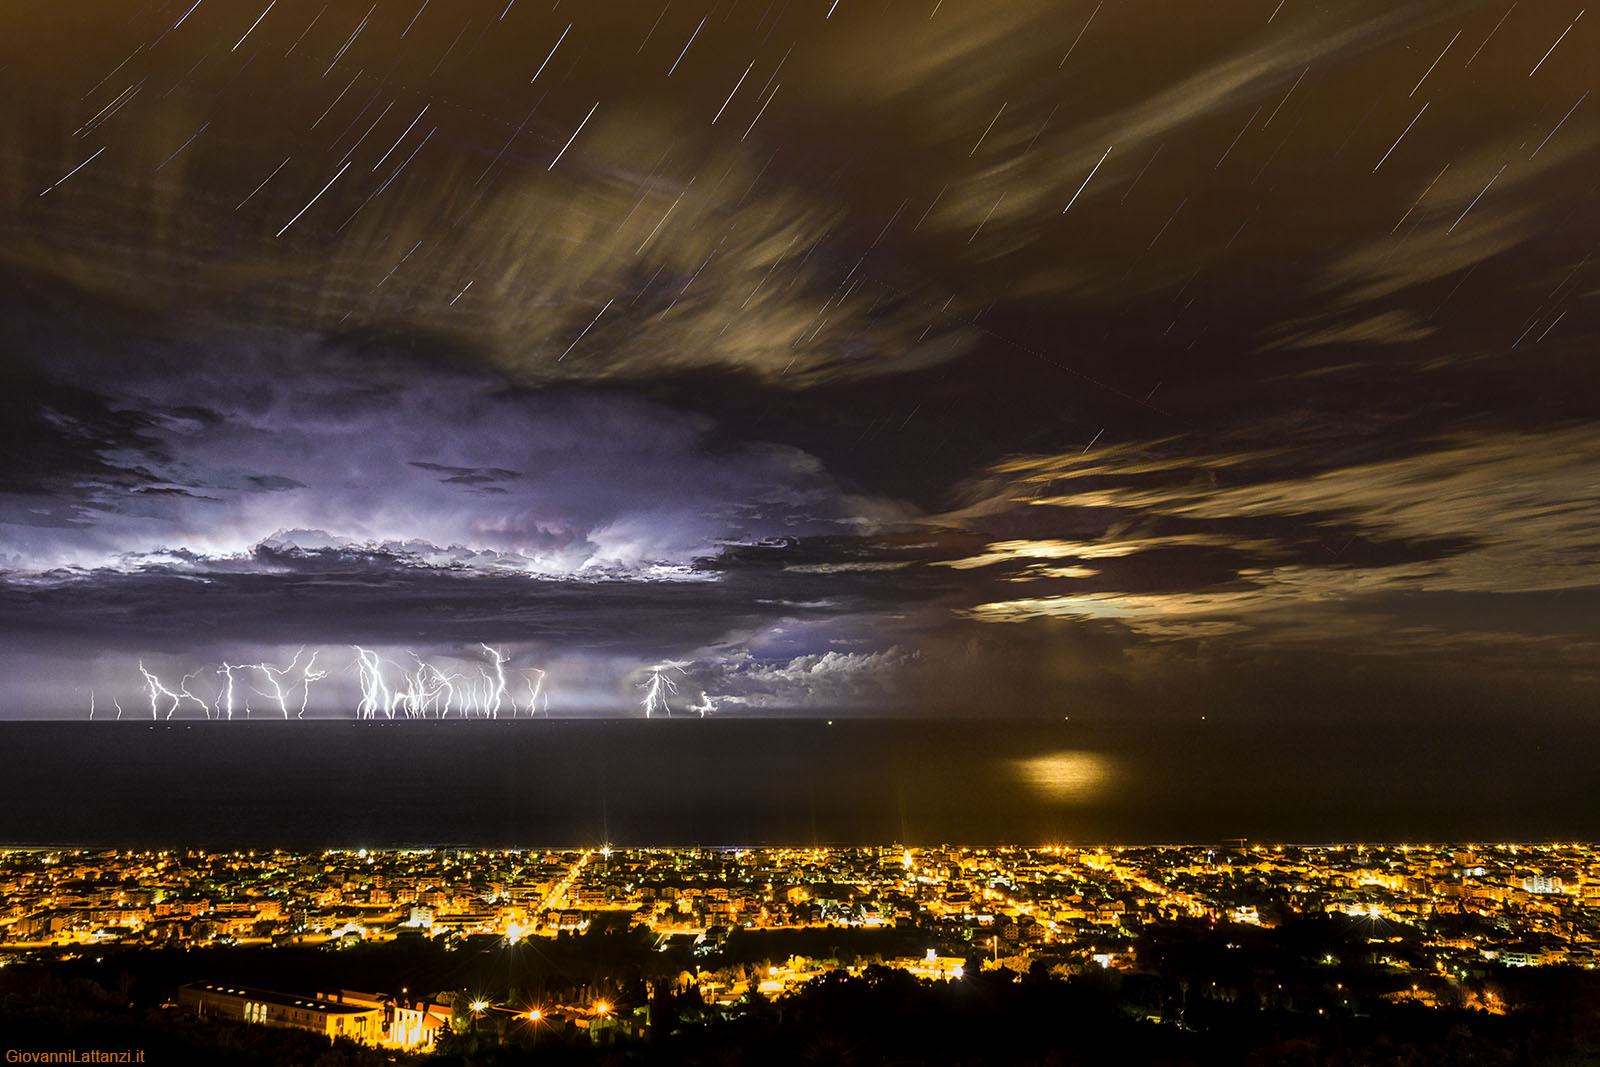
Night is the ideal condition for photographing lightning, even if it hides a photographic pitfall that must be carefully avoided: the risk of not having an adequate scenario in which to place lightning. Always remember that any weather phenomenon, including lightning, must always be included in a well-constructed, complete, articulated and structured shot . Prepare it in advance, depending on the direction in which the lightning strikes.
Keep in mind that the landscape terrain and its fixed elements matter in the shot, but so do the clouds in the sky, both those illuminated by light pollution, which tend to be orange or yellow, and those that will later be illuminated by lightning.
At night, since the ambient brightness is reduced or minimal, it becomes much easier to manage the sequences of shots with long shutter speeds. However, even for the night, ISO and aperture must first be fixed on the basis of the correct exposure of the lightning, and only after that can the appropriate shutter speed be established for the landscape. Even for the night the landscape can be well exposed or underexposed (with a well exposed final shot on which to place the various lightning bolts).
The resumption of lightning
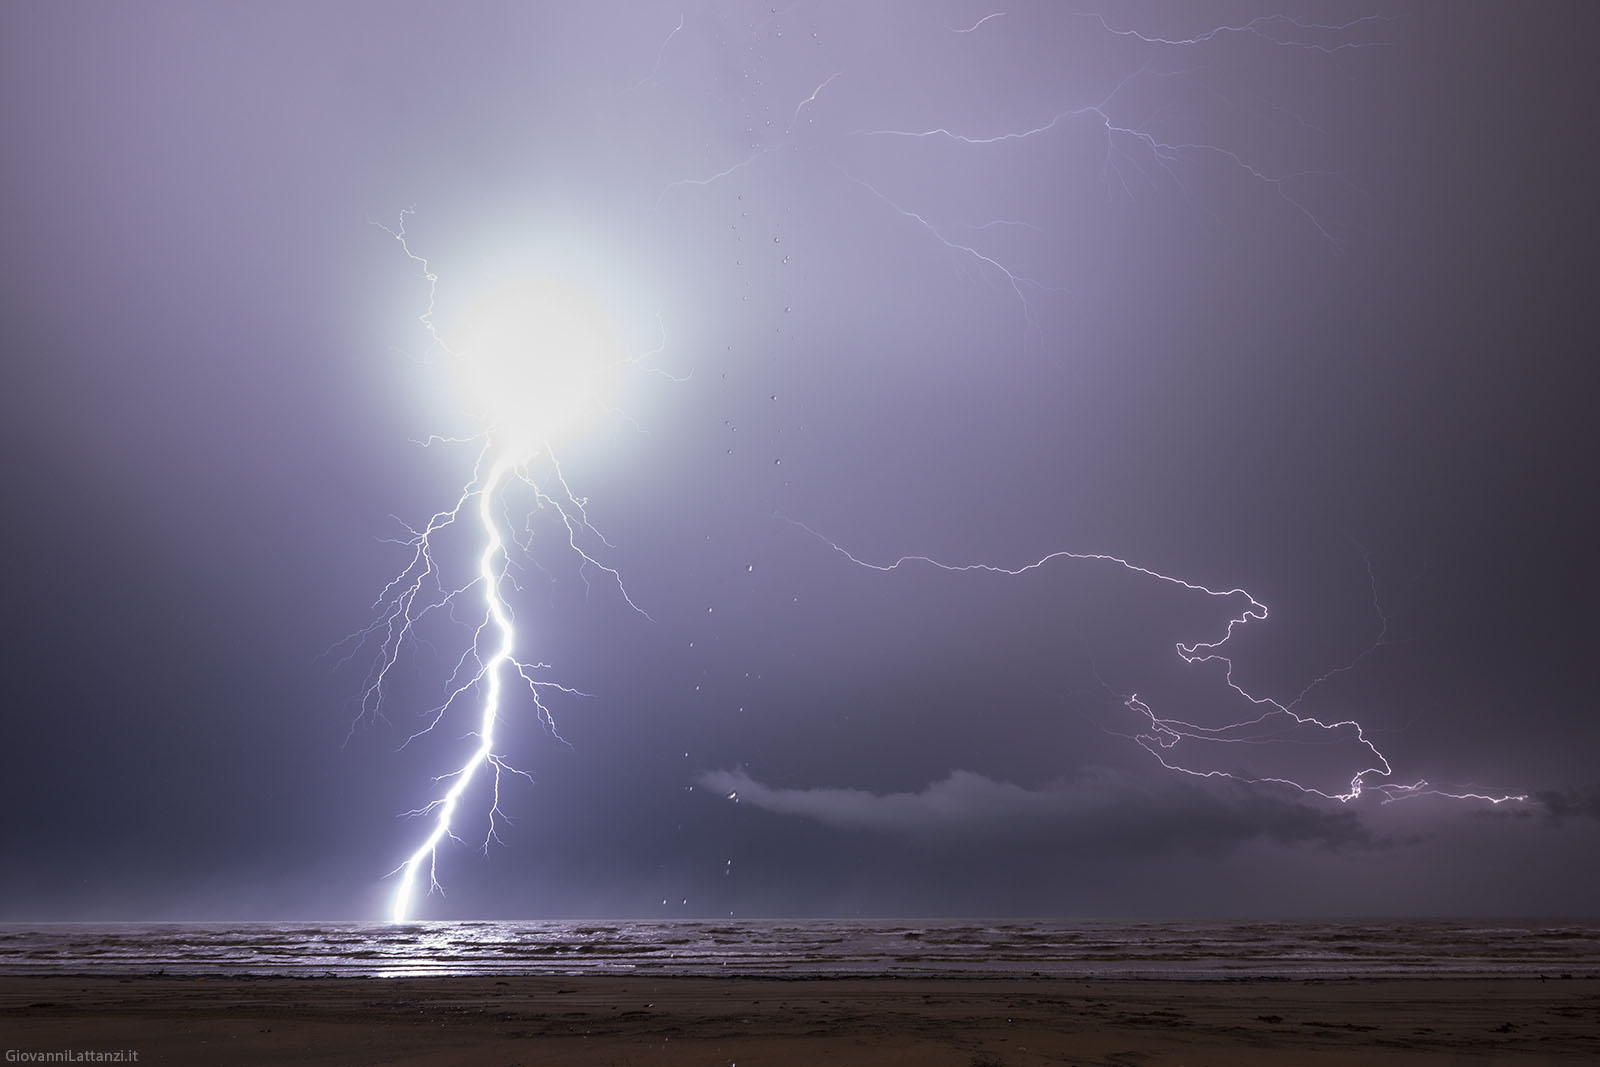
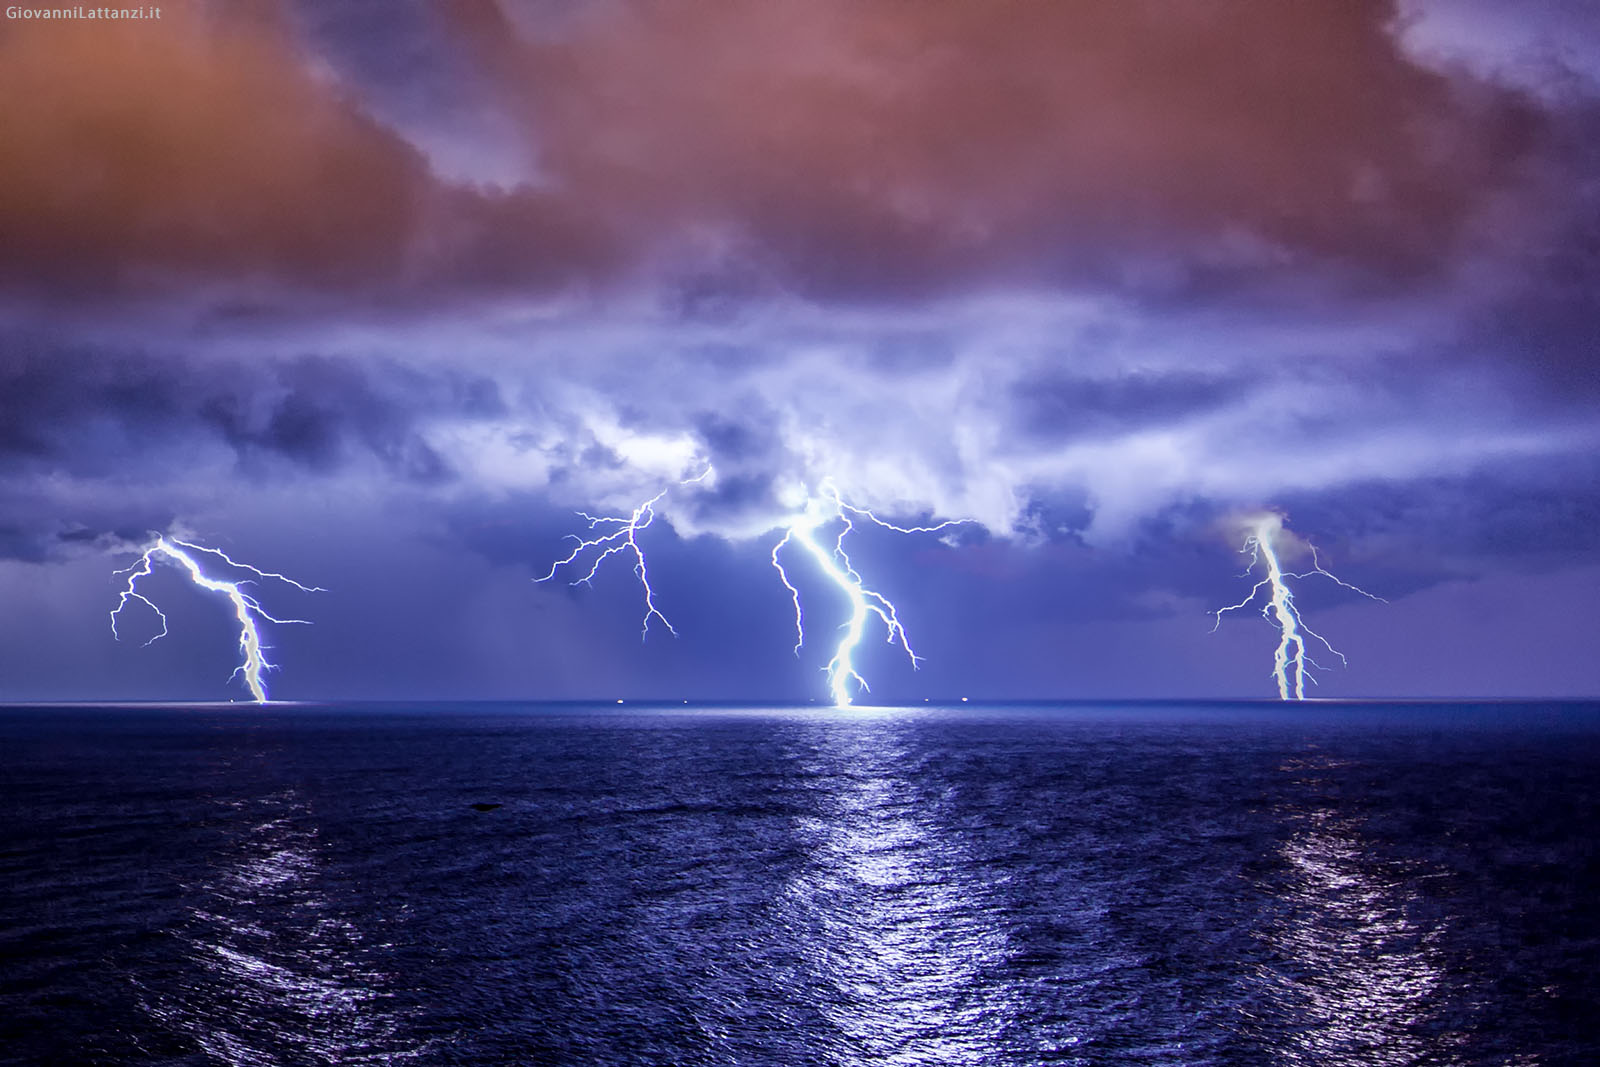
First of all, dealing with the practical part of the shooting, we divide the lightning according to their apparent size, which we relate to the distance from the shooting point. So we have lightning:
- neighbors (within 1km)
- medium (from 1 to 5 km)
- distant (over 5 km)
How to calculate the distance of a lightning strike? Simple: light travels at 300,000 km per second, sound at about 300 meters per second. Count the seconds from the moment of lightning until thunder, divide by 3 and you will know the kilometers that separate you from that lightning.
Obviously this is a convenient division, purely indicative, but it serves to make you understand that there is a difference in photographic management between lightning that falls very close to us, and are therefore extremely bright and "high", and those far away, low on the horizon and “low light”. What differences?
- Lens: Close lightning requires wide-angle lenses, distant lightning requires telephoto lenses
- Exposure: the closer they are, the brighter they appear to us, so ISO and aperture adjusted accordingly
How to proceed practically in the field
Look for the resume point which, ideally, should:
- be in an area where you can see the approaching storm
- allow you to discover the horizon for a very large stretch
- be at the top
- have some coverage in the immediate vicinity or the car at hand
NOTE – We repeat, once again, it is essential for your personal safety to stay away from any metal element (even if not too high) and not just from poles, antennas, pylons. Stay away from trees, too, and never make the mistake of getting under them to get covered from the rain. If, on the other hand, you are in open terrain, always remember that the tripod, whether metallic or carbon, is a conductor of electricity and exposes you to a very high risk of being struck by lightning.
Once you find the shooting point , study the storm and try to understand
- Where does it come from
- where does it go
- how fast it moves
- where lightning is located
- how often they fall
You can also help yourself with specialized smartphone apps
- Lightning alarm
- Blitzortung Lightning Monitor
- My Lightning Tracker – Live Thunderstorm Alerts
Having made these assessments quickly (the storm also evolves very quickly):
- set up the camera (or more than one if you want to take multiple shots) on the tripod
- build the shot by inserting landscape, buildings, land, trees, etc., but also a suitable part of the sky
- do not make narrow shots, but always wider than necessary
- set ISO and aperture to expose lightning well
- evaluates the brightness of the landscape based on the ISO and chosen aperture, and fixes the shutter speed
In composing your shot. The subject must be the lightning (when it will appear). This means that probably (but it's not a fixed rule) 60-80% of your image should be reserved for the sky and 20-40% for the ground.
As benchmarks I can give you:
- for nearby lightning: ISO 100 , aperture f/5.6 or f/8
- as the lightning moves away you can switch to ISO 200 and ISO 400 for the distant ones
Now take a couple of test shots , of which at least one with a significant lightning strike and evaluate the correct exposure of the lightning bolt, but also that of the landscape, which must be right or underexposed (depending on how you want to proceed with the landscape), but never overexposed.
Set to manual focus (digital cameras can't focus properly in low light) and set the focus to infinity . Take another test shot and check on the camera's LCD viewer that all of the image is sharp on the display.
If everything is under control and the test shots meet your expectations, then shoot!
When you subscribe to the blog, we will send you an e-mail when there are new updates on the site so you wouldn't miss them.
About the author
By accepting you will be accessing a service provided by a third-party external to https://www.insightadv.it/


Comments